 This is part of a series about my DMing Princes of the Apocalypse, a D&D 5e adventure by and copyright Wizards of the Coast.
There will be SPOILERS. If you are playing in a PotA game, please don’t read this. If you are DMing a PotA game, or are a DM who wants to see what the ride was like … read on!
GM Recap
Session 11 (Day 17-18)
- The party decided their best course was to ground their boat along the Dessarin River banks, and cut across to the Dessarin Road.
- They hiked north, once they reached the road, finally getting to Summit Hall. There they stayed the night, talking with Ushien Stormbanner. the lord of the keep and master of the Knights of Samular, devotees of Tyr, the god of justice. Ushien told them of increasing troubles, including in the order’s remit, the eastern side of the Dessarin Valley, where orcish bands are making incursions in the borderlands between the valley and the High Forest of the elves.
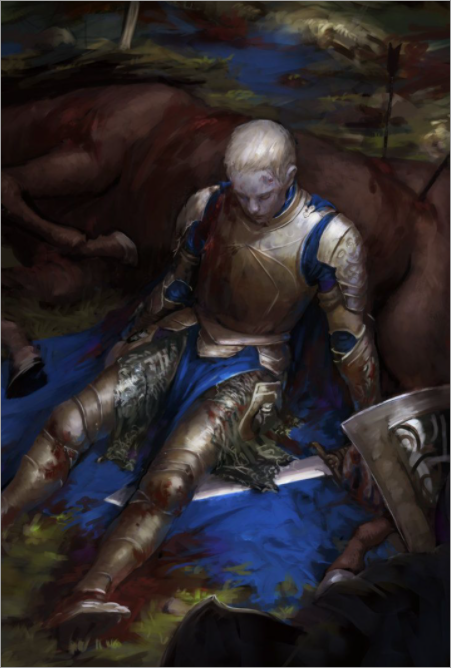
- Ushien spoke of the Mirabar Delegation and how she’d received word they were bringing back the body of one of her knights, Narl Elrok, who fell in battle, but the delegation has gone missing. As has, out on the plains, one of her knights, Earned.
- Faith realized the vision she’d had the night she slept at Gemvocs Leofhyrn‘s house was of Summit Hall and the knights mourning over Narl’s missing body — and how Tyr wants this all put right.
- The party headed north the next day along the Dessarin Road. Late in the day, still a stretch to get to Beliard, they found a mile off the road what looked like might be the remains of the Mirabar Delegation, or at least the location where they were ambushed. The bodies of Mirabaran soldiers lay slain, alongside broken wagons and a pair of empty chests. In cairns were both bugbears bearing the Symbol of the Black Earth, and, separately, a woman in monk robes buried with a gilt-tin gargoyle mask. Many feet headed southwest, further into the hills.
- Moving a distance from the ambush site, the party camped. That night they were attacked by ghouls, one of whom escaped (after being turned by Faith). DING! Level 5!
Player Recap
Take me down to my boat on the river
I need to go down, I need to come down
Take me back to my boat on the river
And I won’t cry out any more
Time stands still as I gaze In her waters
She eases me down, touching me gently
With the waters that flow past my boat on the river
So I won’t cry out anymore
Oh the river is deep
The river it touches my life like the waves on the sand
And all roads lead to Tranquility Base
Where the frown on my face disappears
Take me back to my boat on the river
And I won’t cry out anymore
Oh the river is wide
The river it…
~ Styx
The party continues down the river and discusses the possible next steps. The group decides to beach the boat and head for the Desserin Road. William catches a couple of fish. As they are unloading the boat, William notices a tree full of loud birds. As one the unkindness of ravens lift off and head South. One of the of ravens appears to be white or silver. William feels something. Like a large bug inside of my tunic – then stops moving. It turns out that his raven trinket was moving in this pocket.
Eventually, Moony finds a spot to beach the boat. Moony takes a grappling hook off of the boat and any other valuables. William and the others work to erase all traces of their departure from the river. Just as they are ready to push it back into the water to float down stream, a larger boat with a blue bird on the sail is travelling up river. Nala, Moony, and Faith try be inconspicuous. As the ship approaches, William waves. Someone asks if we need any help and William says they are just taking a break.
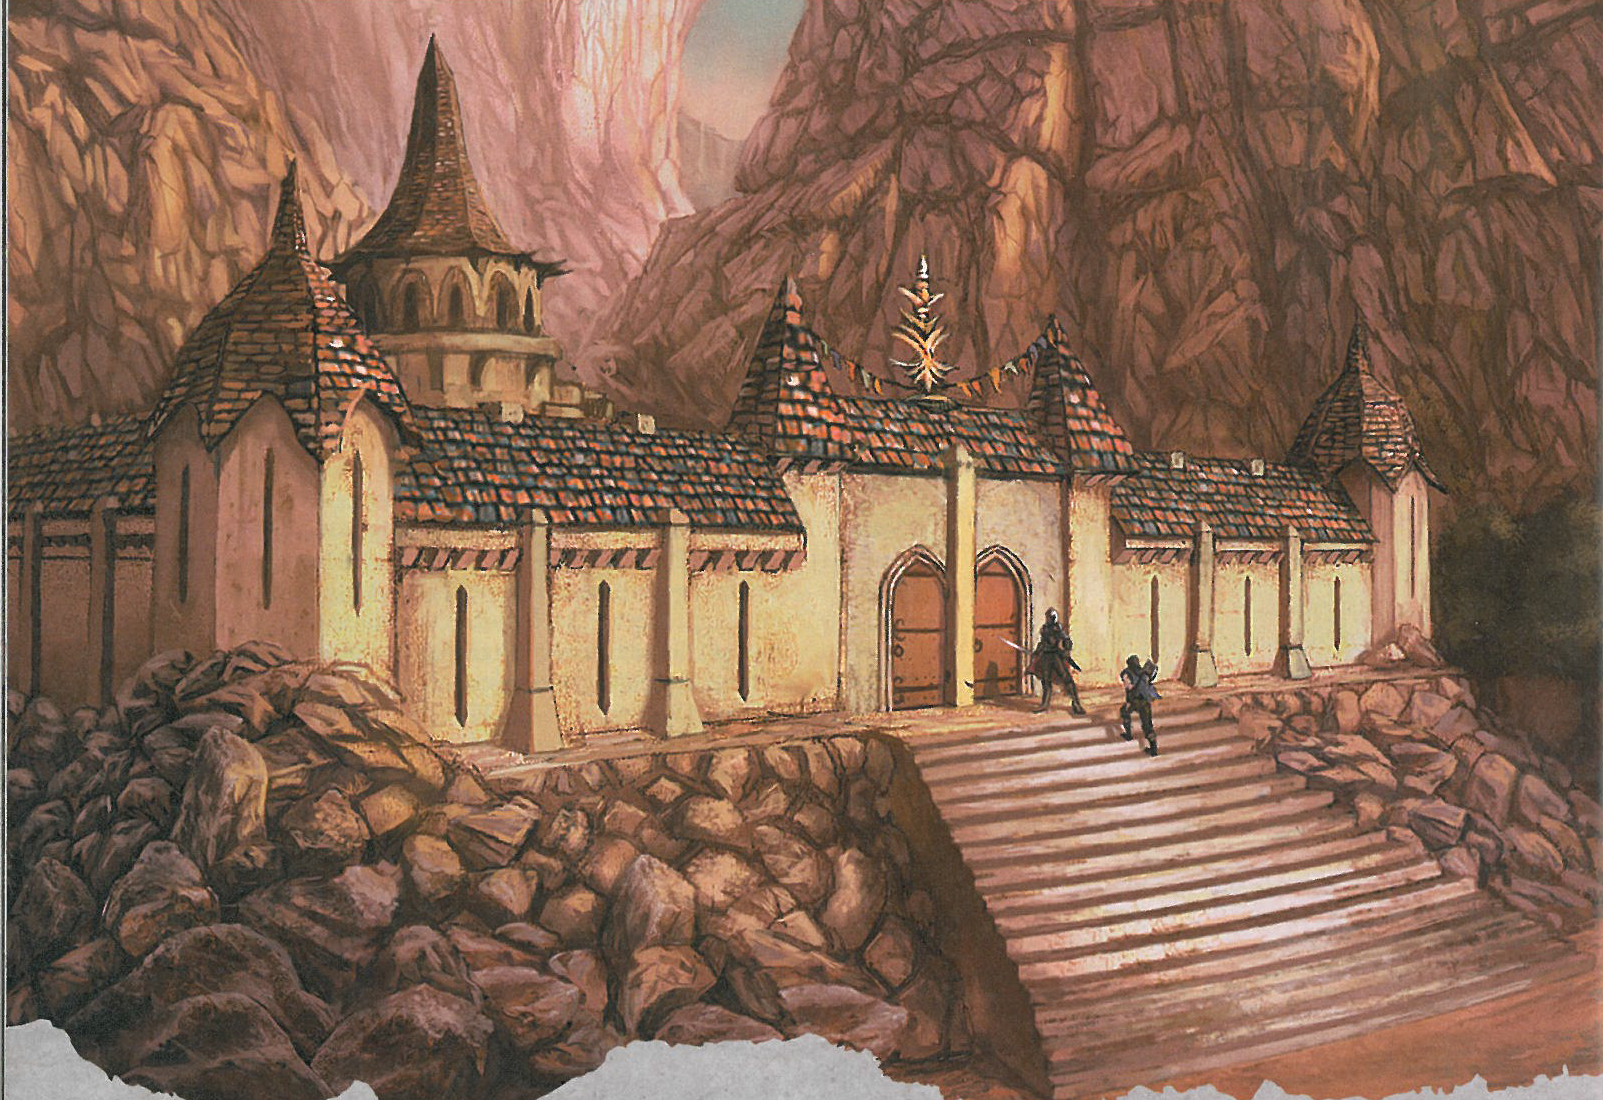
After the ship passes beyond the curve in the river, Moony pushes the boat into the water to float down stream. The party takes off East. In a few hours they reach what must be the Desserin Road. Heading North, they approach a small stronghold standing on a hilltop in the southern region of the Sumber Hills. It consists of a stone hall surrounded by a fifteen-foot wooden palisade. Stables, a few cottages, and utility buildings buildings are enclosed within the protective wall.
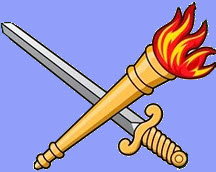
A banner flying an emblem of a crossed torch and sword flutters overhead. Faith recalls that this is a location of a lawful god order protecting the valley. Nala recalls that the symbol is that of the Knights of Samular, an order of Tyr worshippers.
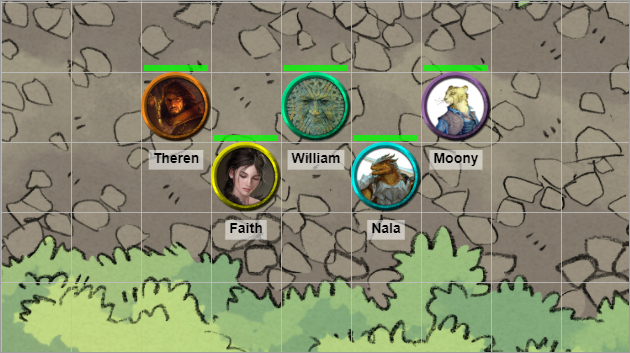
Faith and Nala head the party as they approach the tower. Faith makes sure that her holy symbol of Deneir is visible outside of her tunic. There is an older man and a younger are standing guard at the gate. Faith explains that they are traveling to Stone Bridge and are seeking shelter for the night. The knight invites them to follow him to the keep to meet the master. In the main hall, they are met by Lady Ushien, a paladin of Tyr and the master of of Summit Hall. She greets them warmly and offers them some rooms for the night. They are led upstairs to the guest quarters on the second floor. She again offers them one of the cottages if they need more room.

Moony looks into the room off of the landing off of the guest room. It looks like a study with many scrolls. William cleans up as best he can and the peruses the library. He and Moony find some books on geography to fill there time. Faith joins them in the library and chooses a book on Tyr. Theren and Nala stay in the room. A bell rings and the young knight quickly pulls her study material together, nods to the party and heads down to the great hall. The prayer server starts with a procession out the main door to a separate building that serves as the chapel. It looks as strongly defensible as the main hall. The chapel is sparse. The service is brief with prayer and chants.
Faith approaches the alter to leave a tithe. She is rocked back on her heels and lands in the lap of one of the knights. Faith flashes back to a dream she had while in Gemvocs’ house. <<<<something is missing and Tyr needs it to be restored>>>> The knights come to support her and Faith assures them that she is alright. Faith and William leave tithes before heading to supper.
Ushien and four knights join them a a large oak table. The room is neat, but sparsely decorated. The food is filling and quite serviceable. They conversation turns to their travels. William explains their travels to Red Larch and the missing Mirabar delegation. Ushien is concerned, because she too was expecting the delegation. She had heard from others that the delegation were travelling. She describes the ice orcs and rumors of monsters in the abandoned keeps and haunts. She mentions the forces of Feathergale Spire, the Sacred Stone Monastery, and Rivergard Keep doing their parts to try and keep things in check. There is obviously an evil growing. William mentions that there have also been rumors of the “Mountain that Walks” being worshipped by the Cult of the Black Earth outside of Red Larch.
After some more pleasant conversation, they ask after the monks of Sacred Stone Monastery. She can give some information about the paths to get there, but warns the the river is very difficult to cross south of the Stone Bridge.
A knight asks after “Erined,” but Ushien regretfully says there is no news. At the end of dinner the knights and most of the party retire for the evening.
Ushien leads Faith to her office, the small study off of the landing. The delegation from Mirabar was bringing the body of one of our own. Narl Elrok was from Mirabar and had gone there to help in the orc wars. When he fell in battle, he asked that his remains be brought to Summit Hall. He is not the only one who is in danger. You heard Devin ask about Erined. He had gone to the Northeastern homesteads to ask the settlers to consider retreating to Beliard or Summit Hall. Faith promised to return Narl or Erined if they are found.

The night passes peacefully. Faith attends the morning service and joins the others at breakfast with Ushien and some other knights. They offered them crumblecake if they needed to replenish our supplies. They set out after breakfast to Beliard.
They were a half dozen miles short of Beliard, when a group of vultures and crows drew the party’s attention. There was a battle about a week ago. About a dozen soldiers in Mirabar surcoats were dead, a mixture of men and dwarves. Most were wounded by swords and weapons, but a few were felled by rock or buried by dirt. There were a couple of cairns nearby. There were carts and broken creates.
Theren and Nala prepared the bodies for burial, but didn’t find any personal items.
Moony excavated the small cairn and finds a human woman in monk’s robes with a strange mask on her face. Gilt to look like gold in the shape of a gargoyle. It was not familiar to Sword Coast natives. There were no other identifying items or marks about her. The second cairn had several bugbears with the symbol of the cult of the Black Earth.
William looked for tracks leaving the area. He finds a mixture of bugbear and shod humanoid footprints. A total of about 30 people leaving the battle site on foot. He found a shelter in the hillside to give the party some cover from the wind and potential rain. After setting up camp and enjoying a trail dinner, the group set watch.
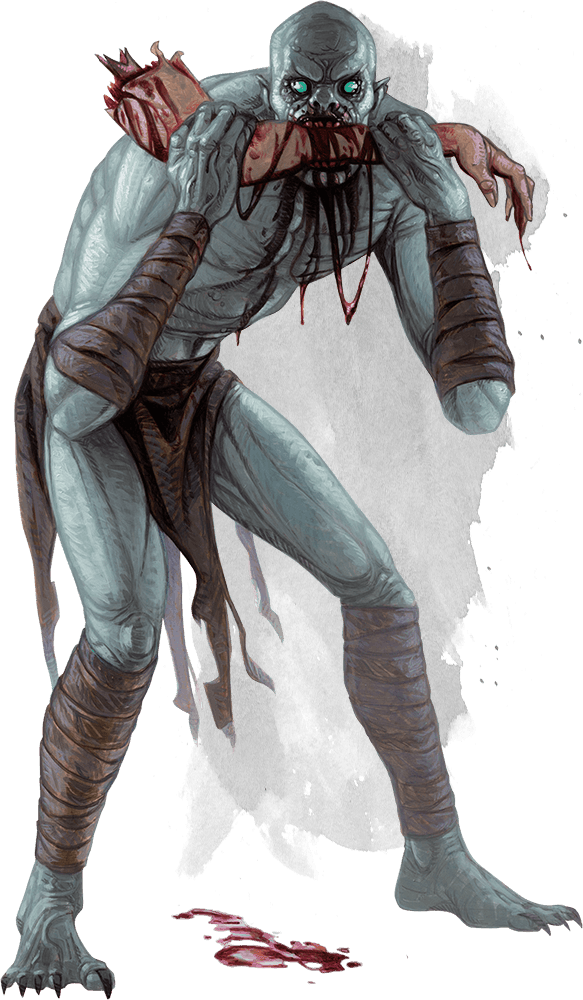
Several hours passed uneventfully. During Theren’s watch, three ghouls surprised the party. After taking damage on the surprise round and William getting paralyzed, the party took the offensive. Faith stood, raising her holy symbol to turn the undead. One went screaming into the night. Theren, Nala, and Moony waded into the fray, and made short work of the remaining two.
And, of course, after that, everyone went right back to an easy sleep …
Game Notes
“Boxing the Compass” is a nautical term, meaning to make a complete turn through the points of the compass box. And, yes, DMs need to be ready the players to turn in any direction, and be ready to improvise for the direction they choose. Particularly in a sandbox setting like PotA.
After the previous session, I had no freaking clue as to where the party was going. So my prep work involved two main courses:
-
Womford The party travels south to Womford. I set up a magically transferred Shoalar Quanderil to there (i.e., he had always been there, since they never interacted with him back at Rivergard Keep), set up their learning that he had a number of the missing books of Bruldenthar (as his ship had been the one to transport the missing Mirabar Delegation across the river), and, knowing who they were (due to the spy letters from Justan Draehl), planning a big attack against the party at the main local tavern. To that end, I set up maps for Shoalar’s boat, as well as a map of Womford, and a battle map of a Womford tavern for the attack, complete with all the various patrons and bad guys involved. Anticipatory fun!
- The party travels north to Summit Hall, where they meet the folk there and learn some stuff, I guess.
I was really rooting for Womford, and even leaned on the scale a bit, having William sight a white or silver raven flying to the south. This tied in with his trinket (a silver figure of a raven) and, I thought, would be a cool mechanism to give such a nudge.
Which was promptly ignored.
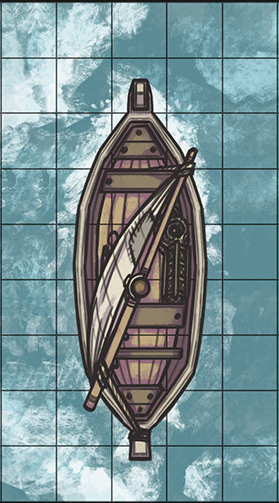
So, after the fiasco of having no boat for the party the previous game, I found a boat-on-the-river map for them. Which everyone politely ooohed and aaahed about, for the few brief moments before they abandoned their boat along the east shores of the river.
But I’m not bitter!
And so they grounded their new, shiny escape boat and headed north toward Summit Hall, and beyond.
Sigh.
To Summit Hall and Beyond
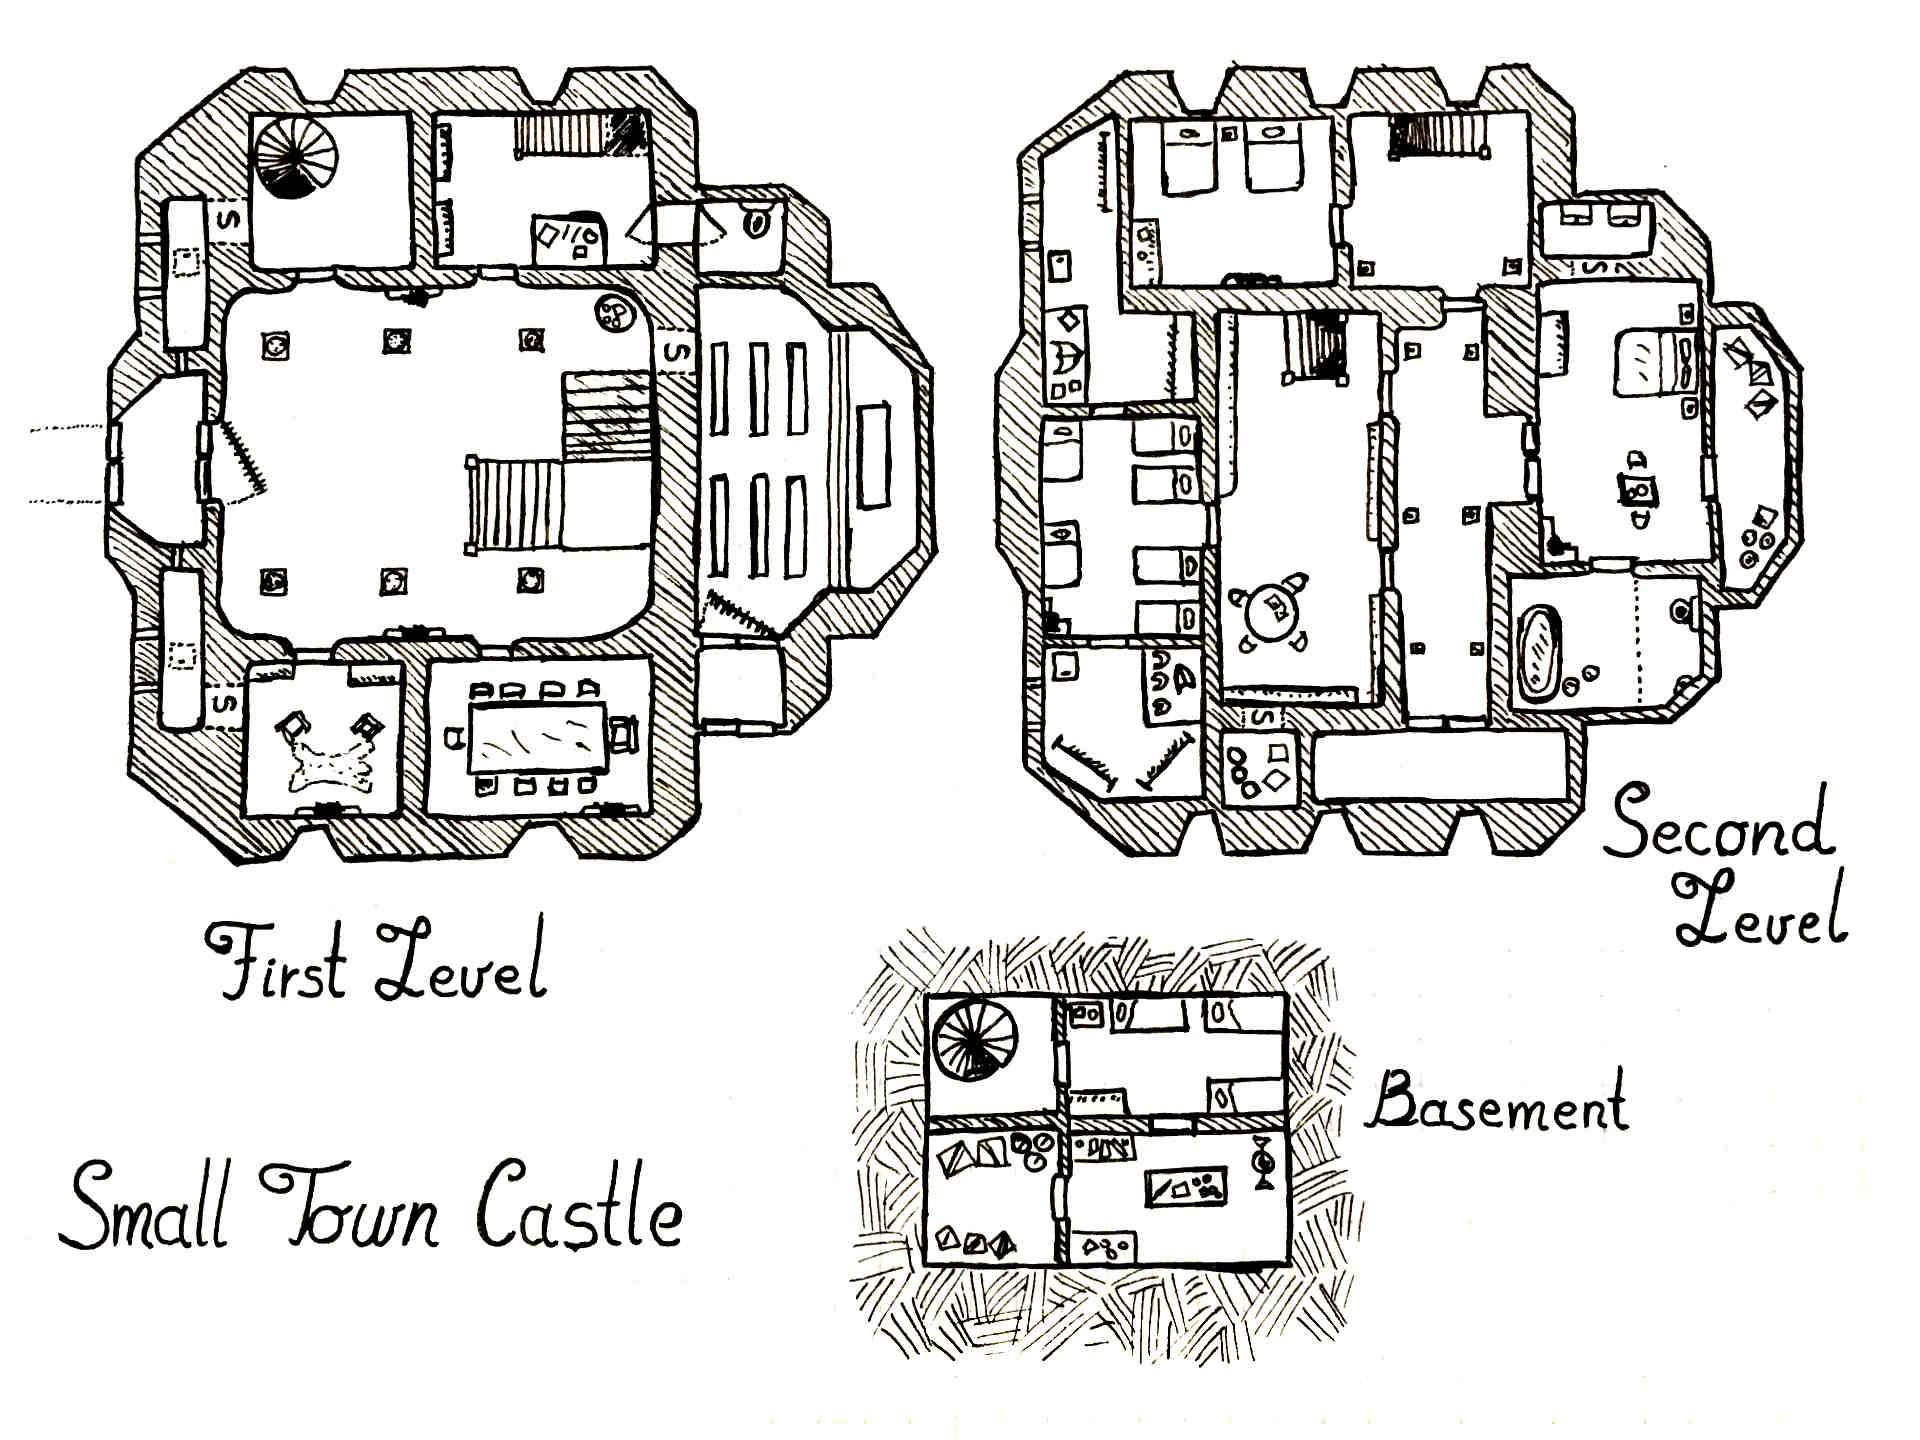
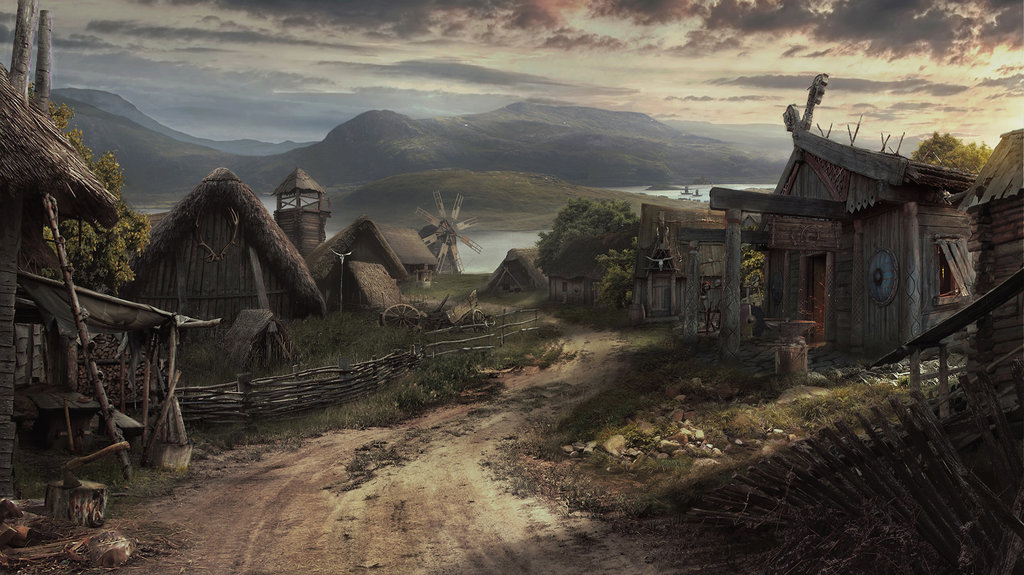
To add insult to injury, the game calls out Summit Hall multiple times, but provides no map and little further info about the place. I found an image and alternative map to use, but it was pretty rough and improvisational.
Summit Hall was somewhat interesting, but mainly functioned as (1) an infodump store, and (2) laying the groundwork for some fun connections to Sacred Stone Monastery and Samular’s brother. Things floundered a little bit, since there was a dearth of deep, dark secrets (unlike Feathergale Spire), just stuff to chit-chat about.
I did have fun having the Samular Knights be somewhat clueless about the evils rising in the Haunted Keeps (believing that those groups were keepers of order); it was a bit of desperation on their part, as the knights were overwhelmed just keeping things in order in the eastern Sumber Hills and the grasslands beyond.
Faith got a connection in her previous dreams to Summit Hall. She began to take the whole “recover the body of the knight” Narl quest much more seriously. Which is a side quest, but gave her player (as both someone who was leaning to converting over to Tyr, as well as just being a compassionate cleric) something to latch onto.
I made a stab at getting the party to pursue Erined to the Dellmon Ranch side quest — which, of course, I had fully reviewed, cleaned up the map for, etc., and thought it sounded interesting. They, of course, demurred.
The CAW provides minimal details as to the Ambush Site, but more clues come out of them, reaffirming the Black Earth cult’s complicity. I threw together a quick map of the site, to give them something to visualize (and raise the possibility of an attack there).
I had sort of expected the party to continue north to Beliard, but they decided to follow the weeks-old trail of the Delegation. Of course they did.
The final fight was a random monster bonus (albeit one quickly thrown together on a spare battle map).
And Level

I don’t recall why I decided this time to ding the party up to 5th level; they’d had only one more combat, but a bunch of other role-playing. In retrospect, I wish I’d left them at 4 and caught up later. I was worried about their being underpowered for Sacred Stone Monastery (which was, as it turned out, unfounded), and acted on the moment.
Though it’s always nice to see happy faces at the end of the game.
<< Session 10 | Session 12 >>
2 thoughts on “Princes of the Apocalypse, Session 11: “Boxing the Compass””