Once more into the Caverns, dear friend …
Solid team, this time, on the Cavern of Transcendence trial, and, though we didn’t make it, I felt more irked than crushed about it.
- Liberty Bill and Tanker-belle as the tanks, Kazima as the scrapper. Brave, well-focused, solid aggro-pullers.
- Dubh Bas and Darkness Heals and Darkthorne as the controllers and defenders. Solid support. Excellent heals. Good TP/recall tactics.
- Honeygun and Avocet as blasters. Good pulls and well-targeted blasts.
In point of fact, we did everything pretty well. We had a friend (Hang Time) clear the troll tunnels on the way in. We pulled small groups. We never let the melee spill over into an adjoining mob. We stayed healed up, the mobs were controlled, nearly everything was perfect. And the proof of that was a minimum (two) of deaths, even with the ultimate failure.
(As a point of info, when the time runs out, you get booted back out into the Troll Tunnels, and a nasty read “Mission Failed” sign comes up.)
So, why did we fail? We ran out of time. We had seven obelisks covered, and Dubh was trying to get to the last when the last seconds ticked off.
Why did we take too long?
- Too many mobs. All but one of the tunnels was occupied, which is something of a crap shoot. But that dragged the whole mission out way too long, especially given the next point.
- We were — well, not dawdling, but also not snappy in moving from mob to mob in the main cavern. That meant our Endurance was all back up, but it also burned valuable time, especially given the previous point. This wasn’t helped by some excellent single-mob pulls by DH, which was a lot safer but, as it turned out, a lot slower. (The irony was that both LB and HG advised caution and slow-steadiness as we entered the Cavern, given that previous problems have come from going too fast and too rashly.)
- We were not sufficiently methodical in clearing the caverns — we started with L2, then L1, then R1 — which is where I stayed, so I didn’t get a good sense of where the group went from there. But by the time the last person — Dubh — was trying to get into a tunnel, there was confusion over which tunnel to go into.
So, since there will be a next time — everyone was unanimous on that, though grimly exultant that our failure had not been disastrous (as the last one was), what were the lessons learned?
- Pick up the pace a little in the main cavern. Once a mob is cleared, make sure of heals and then move right on to the next. We had sufficient strength that, even if some folks had been forced to drop mid-battle from endurance, it wouldn’t have been critical.
- Strength in numbers. The side tunnels will, over time, repop. To avoid that, we left folks in tunnels as we went along, which weakened the group each time. In the one success we had, that was okay, because we had only half the tunnels occupied. This time it was a disaster. So, next time, quickly move en masse to clear the tunnels, then move to occupy them; the TPers and Tanks rove to help anyone whose tunnels have repopped.
- Orderliness. We did well sweeping up one side and back to clear the main cavern, but we were less organized in clearing the tunnels. So, decided on a direction (L4-L1, R1-R4) to sweep the caverns, assign someone to each, and then move in.
I’m not sure any of this is fool-proof, especially if we have that many occupied tunnels and they repop quickly. But it’s the best I can think of to avoid what hung us up last time.
Again, it’s interesting. After the previous failure, HG (and I) had a sense of just being crushed, that we’d blown it, that we never wanted to see the Caverns again unless we really had to. It was more stubbornness that dragged us back for one last (and it was to be the last) try.
This time — between working on a good team, and withdrawing in good order, it felt more like a setback than a retreat. “Better beaten than bitter,” as Avo put it, and “Live and learn, and we did both,” as HG said. So we’ll be going back.
And this time, we’ll win.
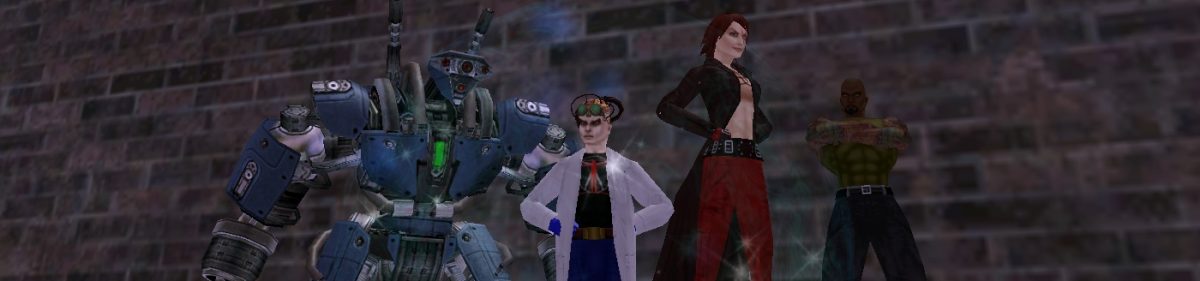
 Got home last evening to discover Margie was already playing with one of her new replacement characters, Amazonite, an ice/ice blaster. Seemed to be having fun, and it’s a nice costume (pics to eventually follow, no doubt).
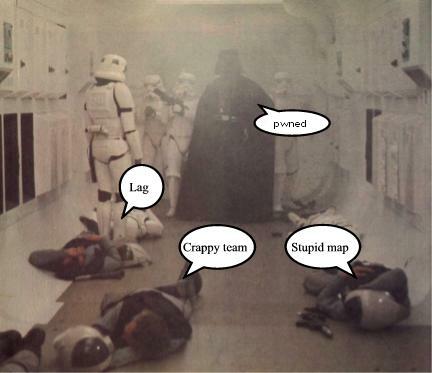
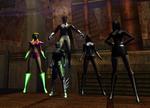
 First off, Mr. Thebes (“They call me Mister Thebes!”), my stone/stone tanker, alongside Fallen Twice, Margie’s spine/dark scrapper. (Margie’s decided that spine powers are really cool — except for the visual.)
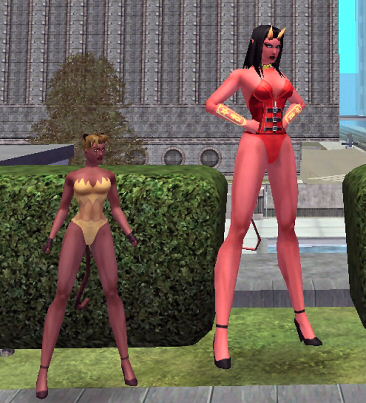 Then, for something completely different, my Flamelle, a fire/fire tanker, and Margie’s Cat Toy, a kinetic/dark blaster.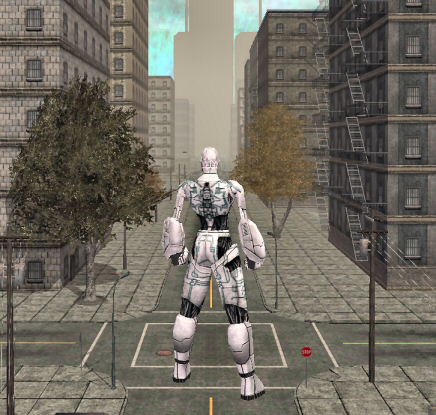


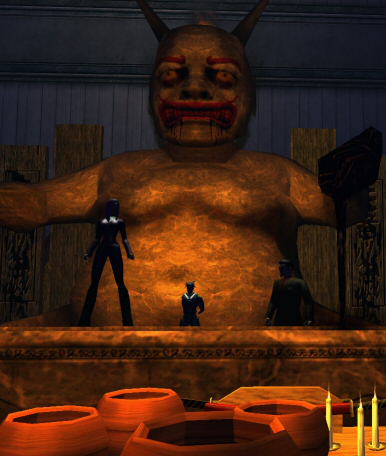 Pulled out Psi-clone to play with last night, after I’d gotten as far as I could on taxes — first time in a while that he and Amorpha had been out on patrol.